Menu
Sync Server
Description
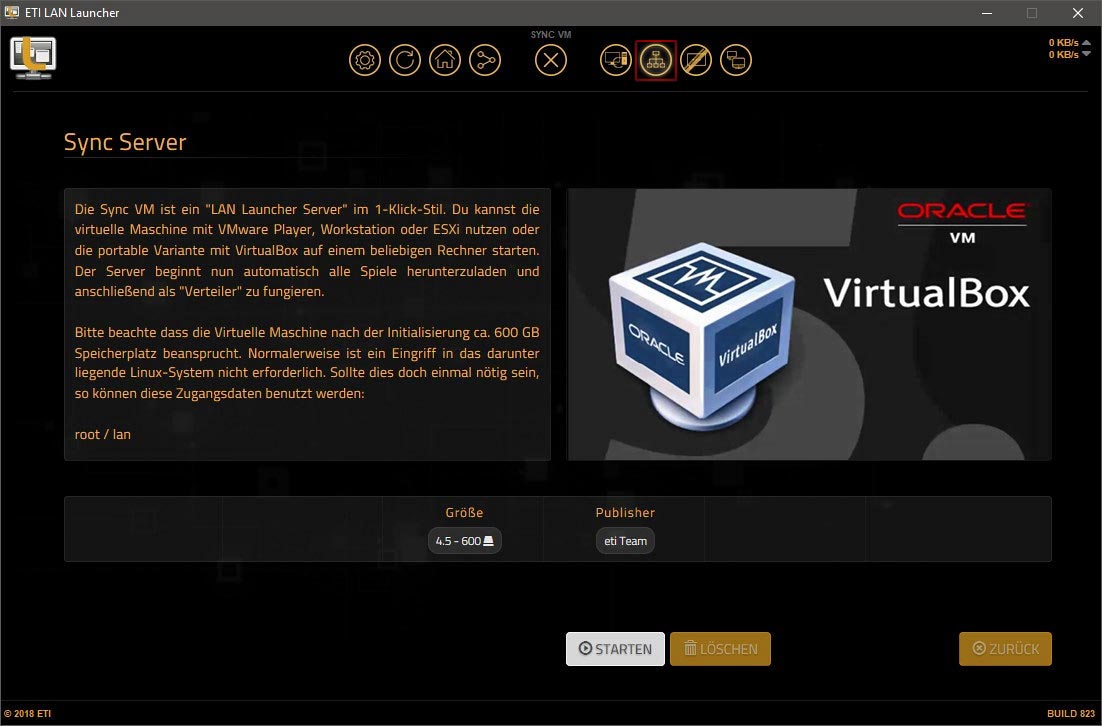
The Sync Server is specifically designed to further accelerate the distribution of LAN Launcher content. In addition, it is designed to provide all available games, regardless of whether they are installed in the LAN Launcher or not. This ensures that players can install any content when no internet is available, or if no existing LAN Launcher installations are active on the network.
We have optimized the virtual machine so that it can be set up in the kind of "Fire and forget" - a further configuration is not necessary. After the start, the Sync Server starts working independently. The only prerequisites are an existing Internet connection and sufficient free space. The VM is available in two variants: as a package including a portable VirtualBox or as a VMware OVA, which can be used, among other things, as a virtual machine Can also be used with Parallels or KVM.
System requirements
- 1.5 TB free space
- 4 GB RAM
- 64 bit Windows operating system (7 / 10 / Server)
- Linux operating system with support for VirtualBox
- VMware ESXi / Workstation / Player
Optional
Download
Note
The Sync Server can be conveniently downloaded via the LAN Launcher.
After the download you can open the folder structure in the launcher by clicking on "Start game" and look at the files of the Sync Server.
Installation
Supported variants
Here we describe the installation of the Sync Server under VirtualBox and VMware. Other hypervisors are not tested by us and we can not guarantee that the Sync Server will work with other virtualization technologies, even if it is technically possible.
The following VM templates are a little outdated. This is quite normal and to be expected as the Linux distribution used evolves. If you are planning to set up a Sync Server with virtualisation, we recommend taking a look at our new LAN Guide.
VirtualBox
Sync Server with VirtualBox
VirtualBox is already part of the package and does not have to be installed separately.
- Step 1 - Open the folder structure via the LAN Launcher
- Step 2 - Unpack the RAR file to the desired storage medium (1500 GB of free space)
- Step 3 - Start VirtualBox and booting VM
- Step 4 - Open the Sync Web Interface and check the download
VMware
Sync-VM with VMware
You can use any VMware hypervisor that is capable of importing OVA files (VMware Player, Workstation, ESXi, ...)
- Step 1 - Open the folder structure via the LAN Launcher
- Step 2 - Unpack the RAR file to the desired storage medium (1500 GB of free space)
- Step 3 - Start VMware Hypervisor and power up VM
- Step 4 - Open the Sync Web Interface and check the download
Bare metal
Sync servers without virtualization
It is also possible to set up a "bare metal" sync server without a VM. This should be considered when the available hardware does not meet the requirements of the hypervisor or is simply obsolete.
Bare metal
Copy the following command line into the shell to install Resilio Sync and the eti Service script:
wget -q https://www.eti-lan.xyz/sync_server.sh && sh sync_server.shIf you want to know exactly which single steps are executed, you can also execute the command lines one by one:
apt-get update && apt-get install -y wget gnupg net-tools curl sqlite3 iptables iptables-persistent
wget https://download-cdn.resilio.com/stable/debian/amd64/0/resilio-sync_2.8.1.1390-1_amd64.deb
dpkg -i resilio-sync_2.8.1.1390-1_amd64.deb
apt-mark hold resilio-sync
cp /etc/rc.local /etc/rc.local.bak
wget https://www.eti-lan.xyz/sync_server.tar
tar xvf sync_server.tar -C /
rm sync_server.tar
mkdir /lan
chmod 0777 /lan
echo "alias eti='/etc/init.d/eti'" >> /root/.bashrc
update-rc.d eti defaults
update-rc.d -f resilio-sync remove
chmod +x /etc/rc.local
systemctl start rc-local
Optimizations
Optimizations
There are several ways to improve the performance of your sync server. We recommend experimenting with the following options in the Sync web interface:
Optimizations
Open the web interface of your sync server under:
http://sync-server-ip:8888/gui/And navigate to:
--> Preferences --> AdvancedFirst disable the debug logging in the lower area. Then you will find the item Open power user preferences underneath.
For single disks, Linux file system and RAID arrays the following settings are interesting:
lazy_indexing
parallel_indexing
enable_file_system_notifications
ignore_symlinks
overwrite_changes